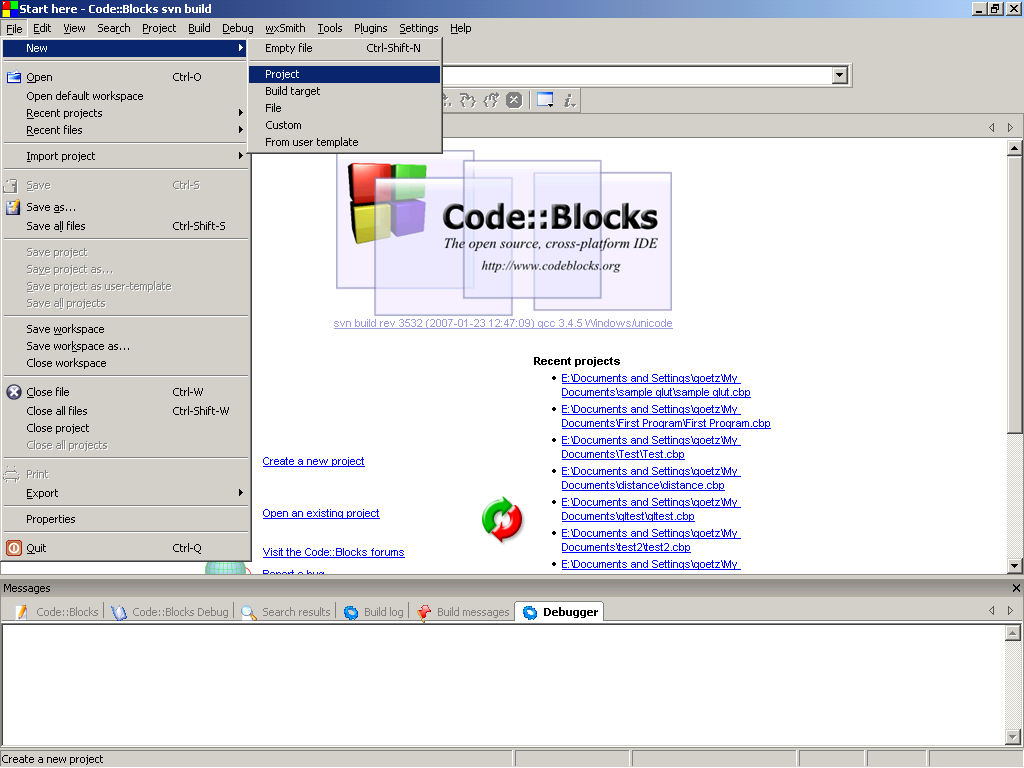
Open up Code::Blocks. Start a new Project by going to File, New, Project.
Download Code::Blocks
http://www.sci.brooklyn.cuny.edu/~goetz/codeblocks/
Download the GLUT bin file (first download link)
from:
http://www.xmission.com/~nate/glut.html
Now you are ready to start Code::Blocks and make a new project.
Open up Code::Blocks. Start a new Project by going to File, New, Project.
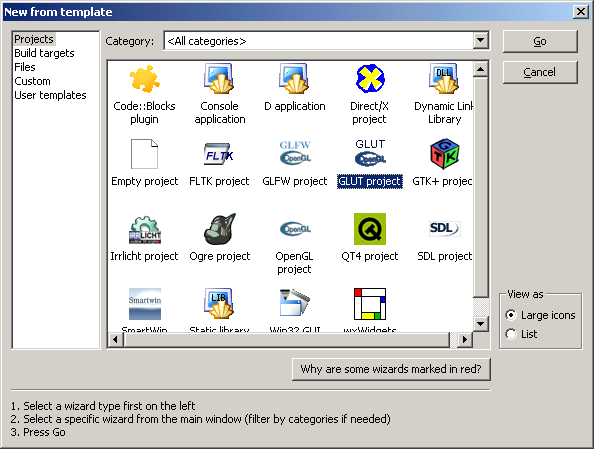
Select to make a new GLUT project and press Go to continue.
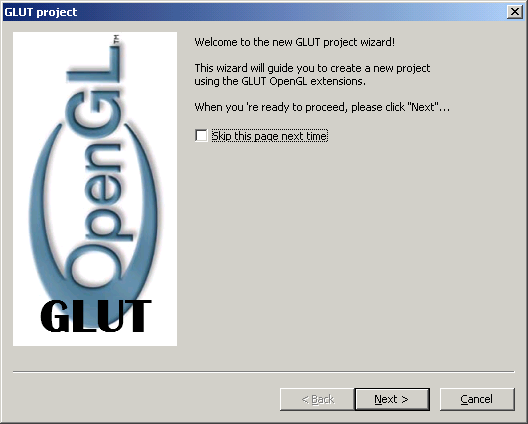
Press Next at this menu
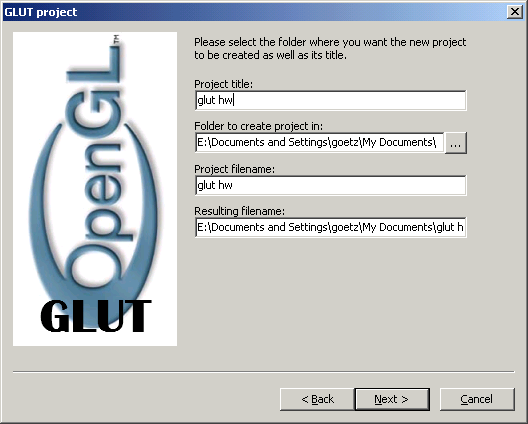
Give a project title, and a location where to create the project
and then press Next.
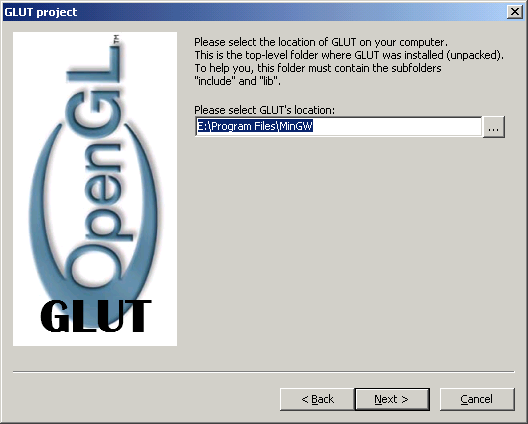
Let Code::Blocks know where you stored your GL files, then press Next.
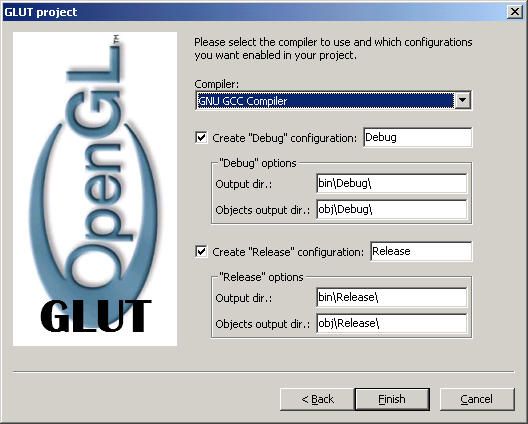
Leave these unchanged, and press Finish.
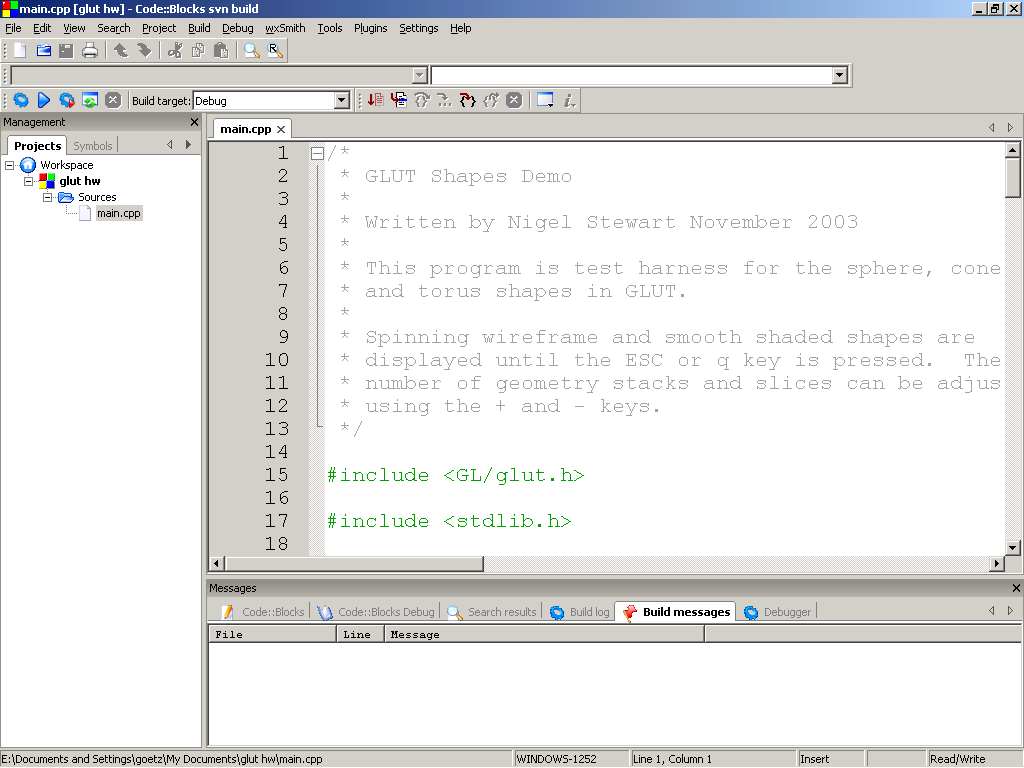
In the manager window (viewable by pressing Shift-F2), open up the sample source
file by double clicking on it. To make your program work, you will need to add
at line 14:
#include <windows.h>
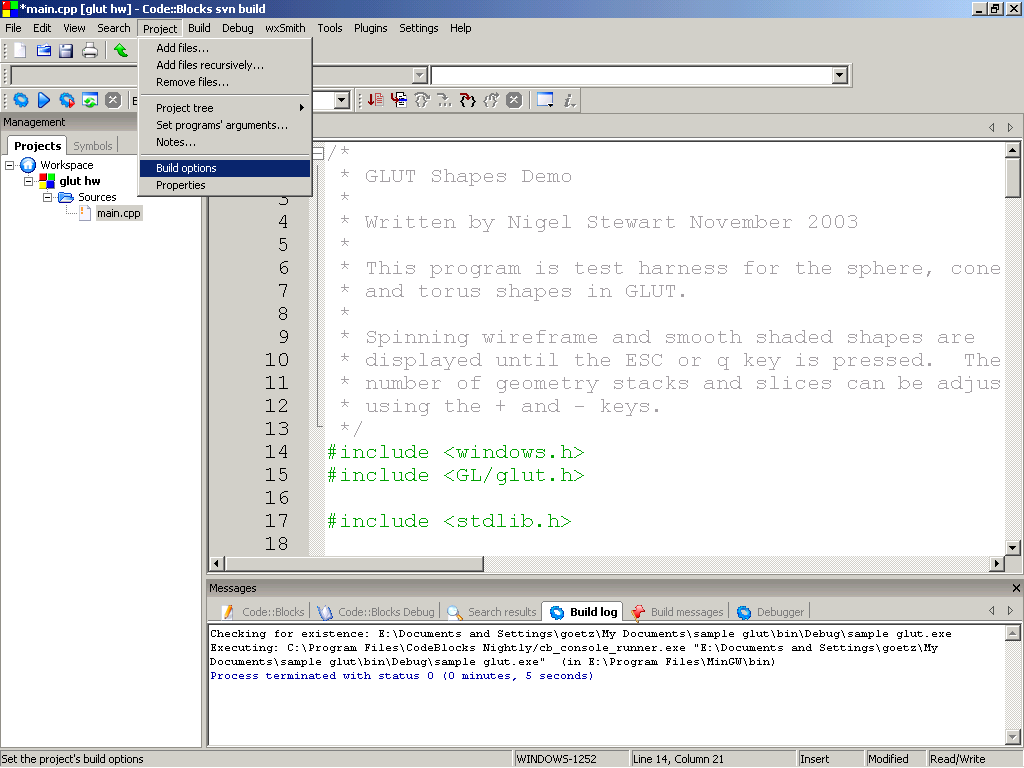
You will need to make a small change to the project's Build Options.
Go to Project, Build Options.
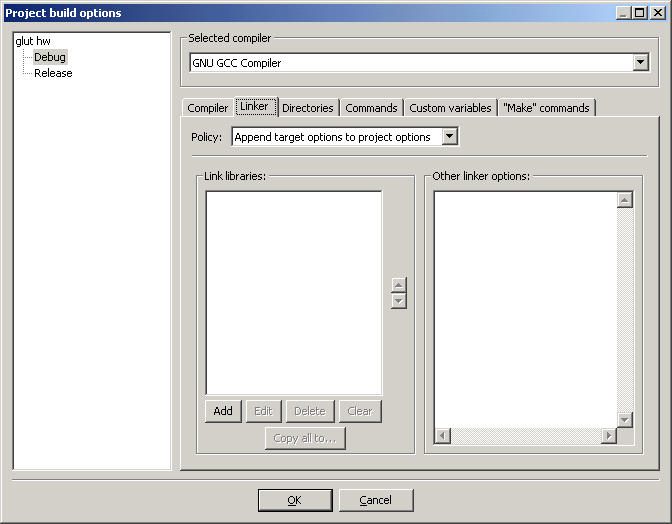
Select the Linker tab and press Add in the Link Libraries area.
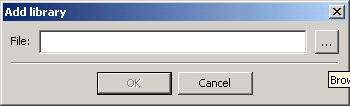
Press on the ... button to select a library to add. You need to add the
glut32.lib library. Locate this from the directory you placed it in before.

After you add the library, it will ask if you want to keep the path relative.
Select No.
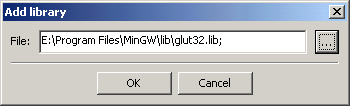
Press OK to select the library.
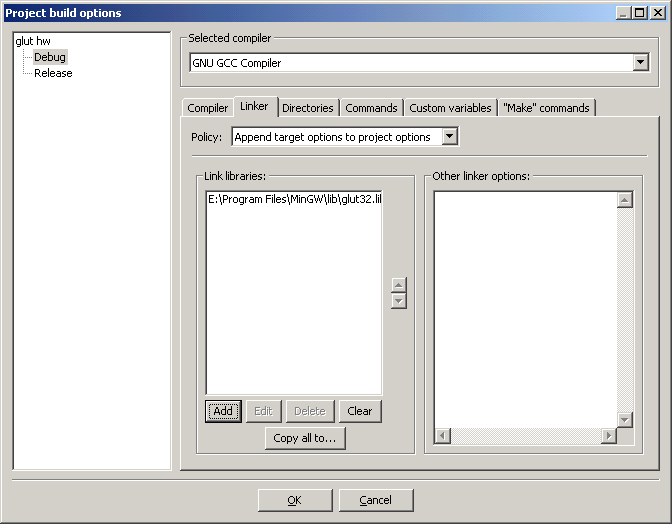
Press OK to close the Project's Build Options.
Press F9 to do a Build & Run of your project.
After a while you'll get some warnings. Ignore the warnings. If you get errors, check the steps above to make sure you added in the new line at 14, and setup project to use the glut32.lib library file to use.
Hopefully you'll get a program displaying the following:
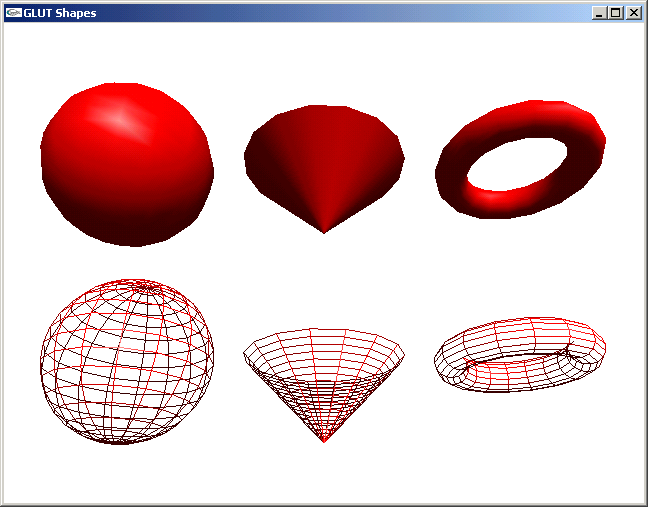
If you see the proceeding window, congratulations, GLUT works for you!