Home
Lesson
1 Lesson
2 Lesson
3 Lesson
4 Lesson
5 Lesson
6
Touch Sensor
Topics
Touch Sensors
Wait For Commands
Sounds
De-bugging
New Icons
Touch Sensor
Music
Preparation
Pre-build the touch sensors (optional)
Handouts
Touch Sensor Challenges - Solution
Lesson
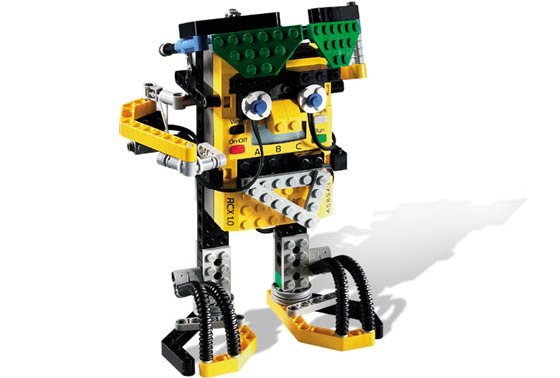
Begin by handing out the touch sensor .heads. or having students construct their
own. Explain how with the motors the robot could only move around in precise
motions. With a touch sensor the robot is able to determine if it has hit a
wall. Put up a simple program on the board that uses a wait-for command.
Here is an example:
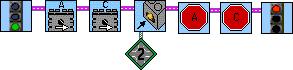
This program turns on both motors in the forward direction causing the robot to
go forward. It then waits until the touch sensor is pressed and then stops.
Essentially the robot goes forward till it hits a wall and then stops.
Explain how the wait-for command functions and how to use it properly. Also draw
students attention to the "2" modifier icon below the wait-for
command. Explain what a modifier is and how it is used. In this case the
modifier is telling the program to look for the touch sensor on port 2.
Show the students the piano key's and explain how to play songs using the robot.
Also give a brief explanation on how sounds can be used to determine exactly
where the robot is in the program at any given time.
Divide the students into their groups and give them a copy of the challenges
handout.
Lesson
1 Lesson
2 Lesson
3 Lesson
4 Lesson
5 Lesson
6
Home