Simple Double Bumper Construction Guide
This is a simplified version of the double bumper from the LEGO
Constructopedia that comes with the Mindstorms kit. The aim is to
replace specialized parts with simpler ones.
Step 1
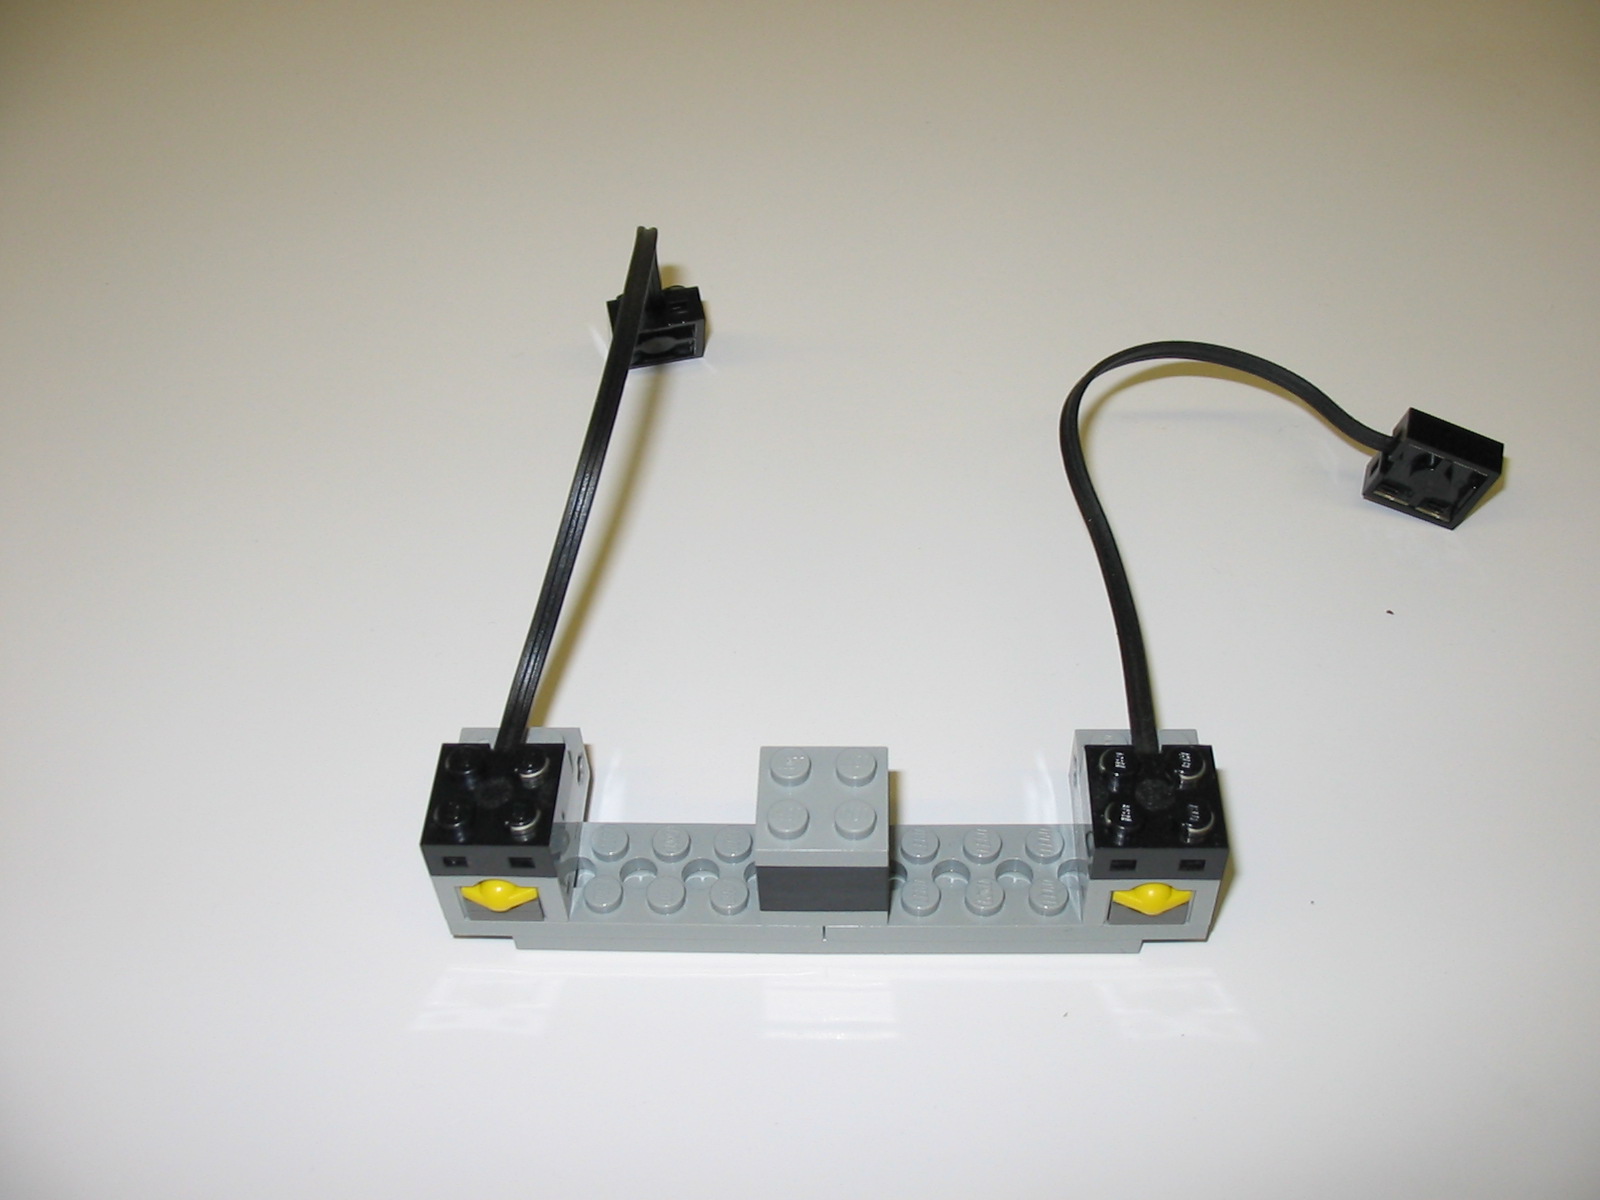
Start by picking out:
- one grey 2 x 10 plate;
- two grey 2 x 6 plates (with holes);
- two grey 2 x 2 plates; and
- one black 2 x 2 block.
Sandwich these together:

and place a touch sensor on both ends:
Step 2
Take:
- two grey cams;
- two yellow angle beams;
- two black friction connector pegs;
- two black 3-stud axles
Slot a friction connector peg and an axle into the angle beam, and
attach a cam to the axle:
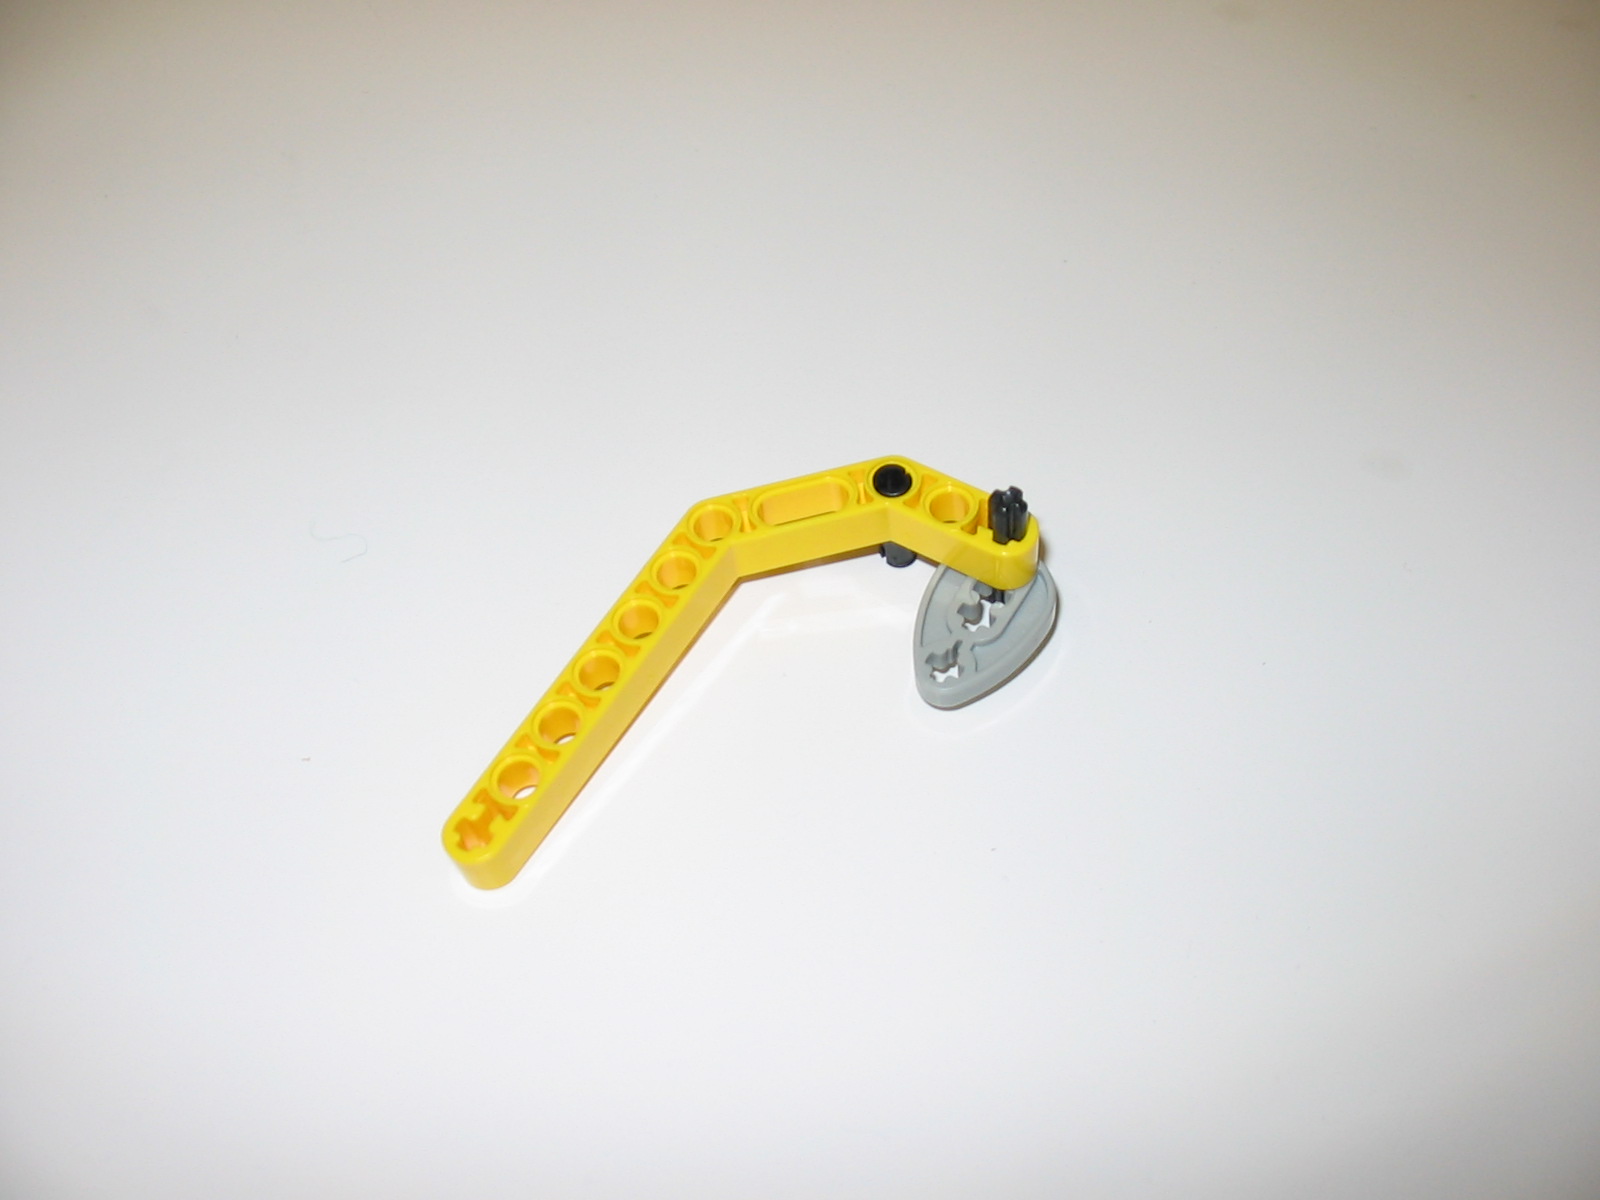
Repeat.
Step 3
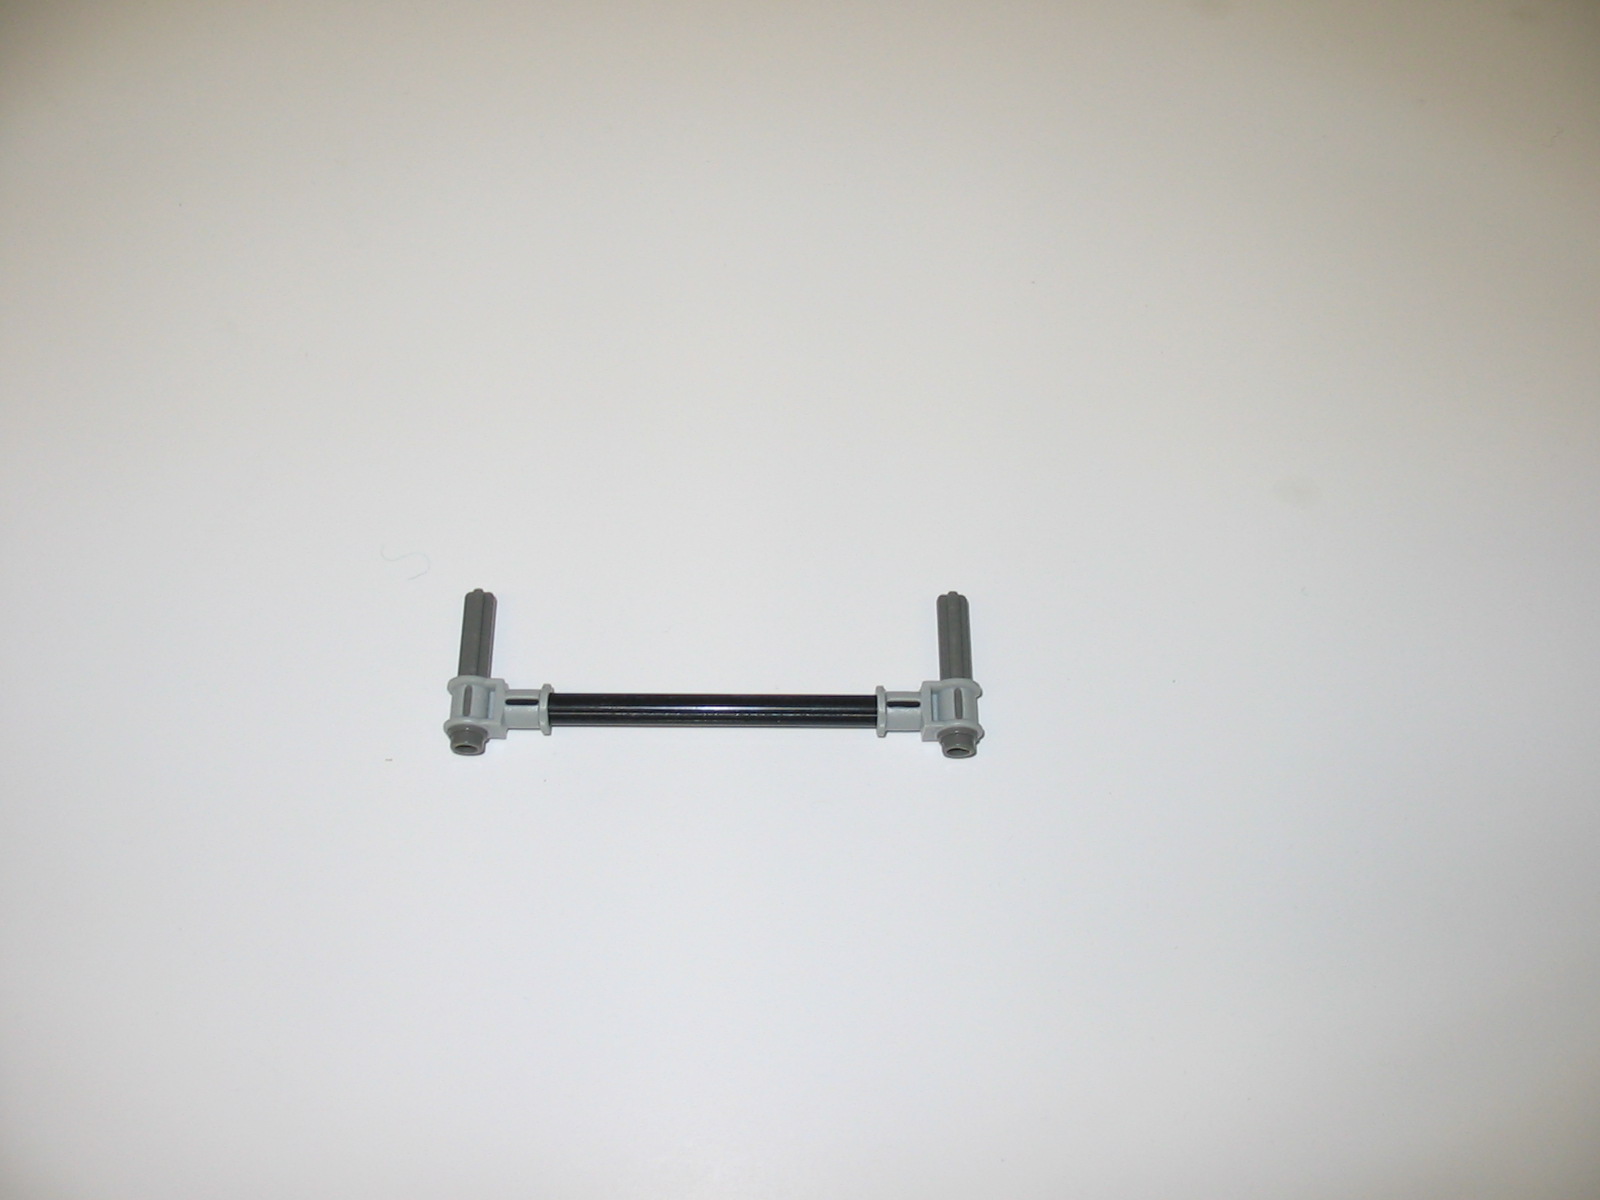
Now take:
- one black 8-stud axle;
- two cross-axles; and
- two right-angle connectors.
as shown:

and assemble them as laid out:
Step 4
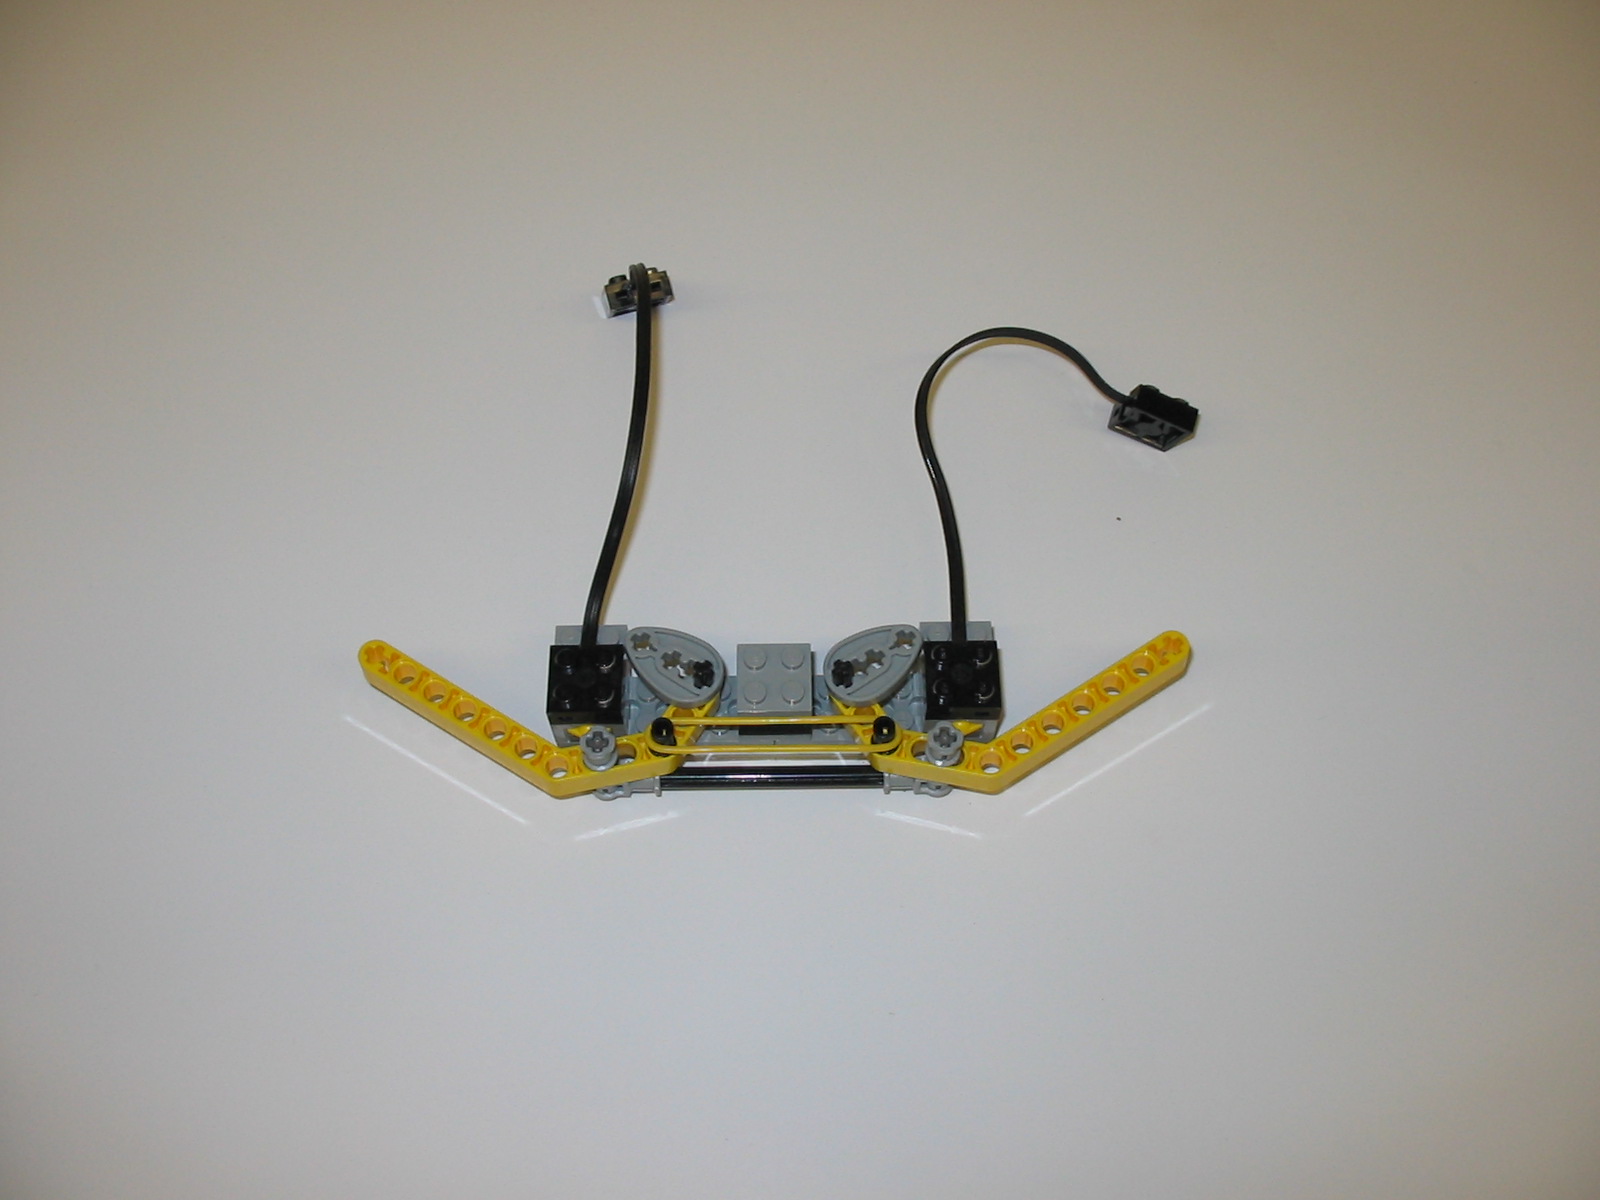
With:
- one yellow elastic band;
- two grey bushings; and
- two short wires.
Combine all the assemblies from the previous steps:
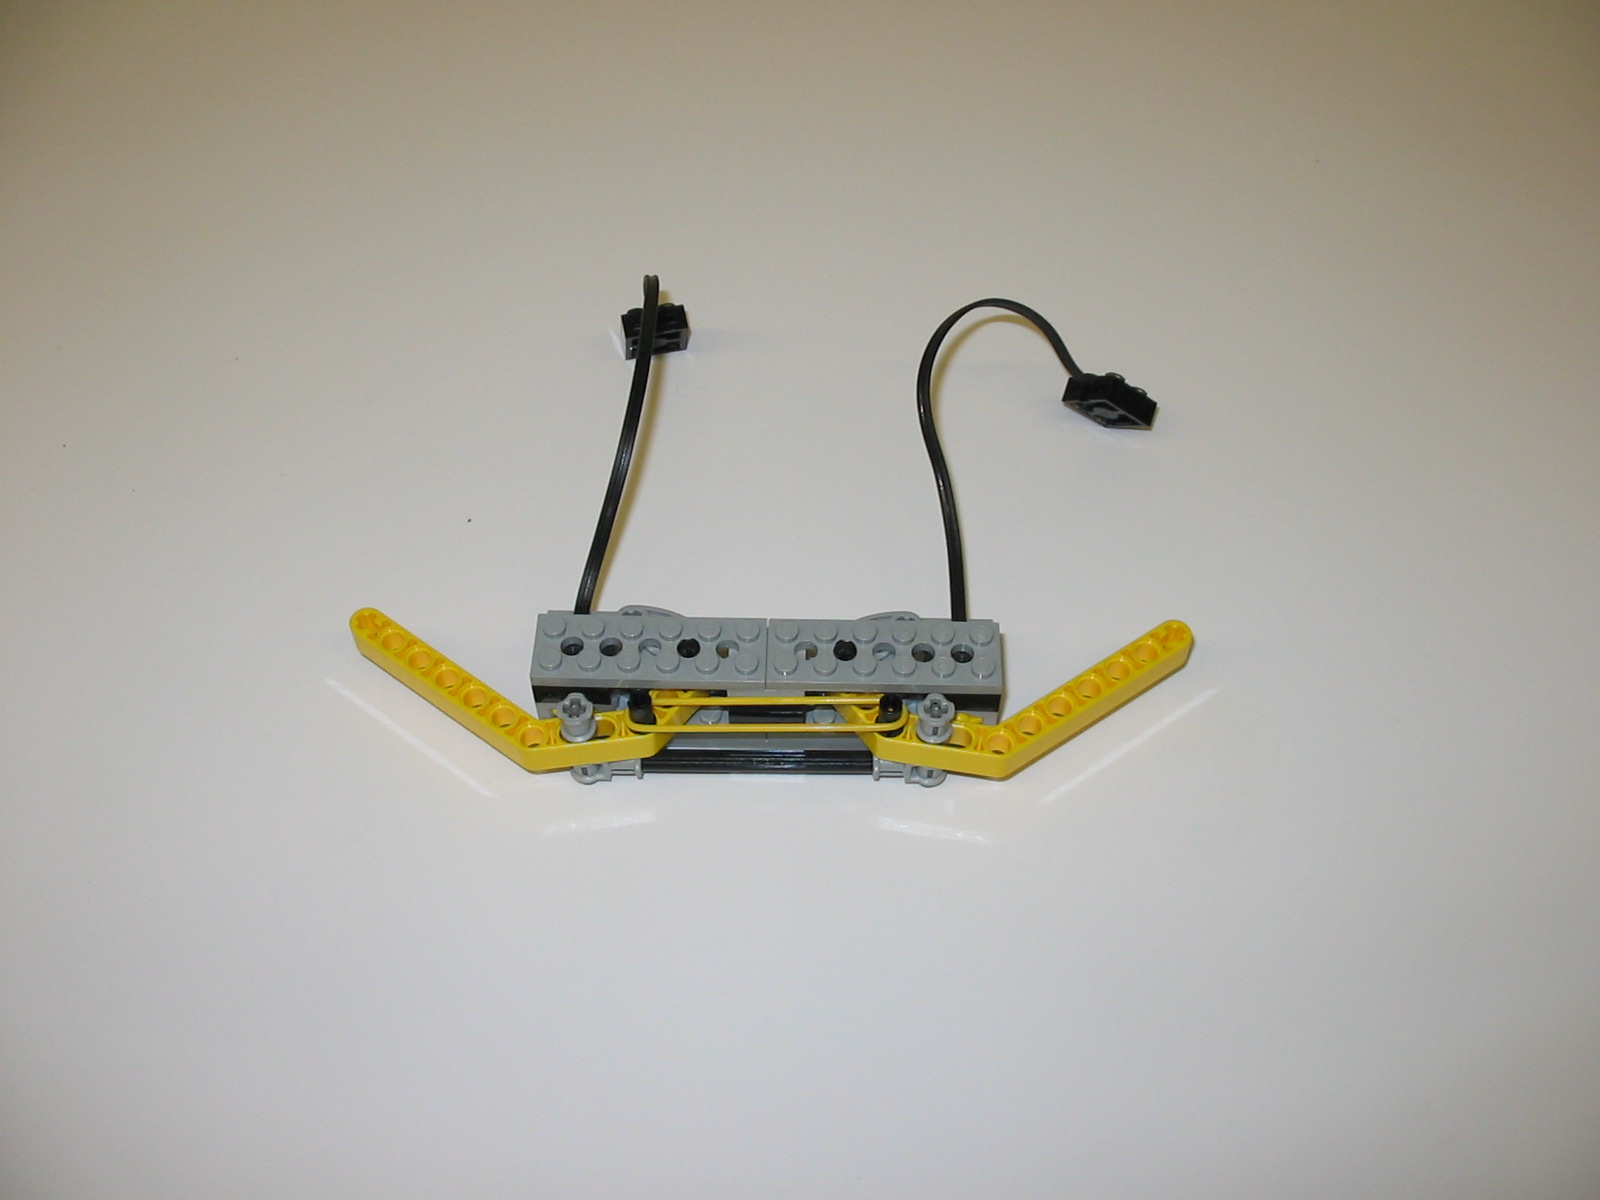
Step 5
Complete, using:
- two grey 2 x 6 plates (with holes)
Parts required
- one grey 2 x 10 plate;
- four grey 2 x 6 plates (with holes);
- two grey 2 x 2 plates;
- one black 2 x 2 block;
- two grey cams;
- two yellow angle beams;
- two black friction connector pegs;
- two black 3-stud axles;
- one black 8-stud axle;
- two cross-axles;
- two right-angle connectors;
- one yellow elastic band;
- two grey bushings;
- two touch sensors; and
- two short wires.