CIC 3620 - Computer Graphics
Assignment #2 - 2D Open GL
Overview
In this assignment, you will follow the same progression that we presented in class with a cube, but this time you will do it in 2
dimensions on this image, with some additional modifications:
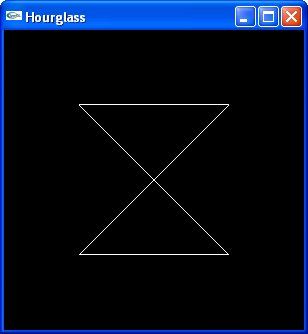
Version 1 - An Hourglass
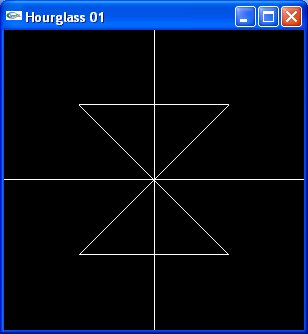
Add an x and y axis to the image:
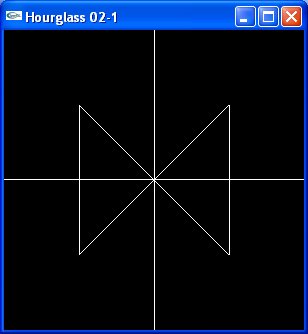
Version 2 - Change the View
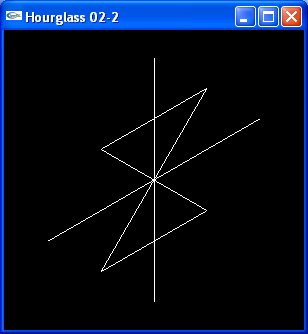
In this version, try to figure out values for the gluLookAt calls for the following two views:
| View 1 | View 2
|
| 
|
Don't go crazy if you can't reproduce the exact images – as long as you give me something more than a blank screen, you're OK.
(In the first, I've changed the up direction; in the second, I've changed the position of the eye and center).
Version 3 - Add Some Color
- Use the following colors:

Version 4 - Specify Vertices Using Vectors (Arrays)
- Same image as in version 3, but now:
- Introduce a
Point2 (analogous to Point3 in version 4 of the cube)
- Introduce a
typedef named Color3 and use it to define various color variables
(e.g. yellow) which can then be used in glColor3fv calls (i.e.,
replace the previous glColor3f with glColor3fv calls).
- Only 5 vertices need to be specfied (for the hourglass-- the axes require their own).
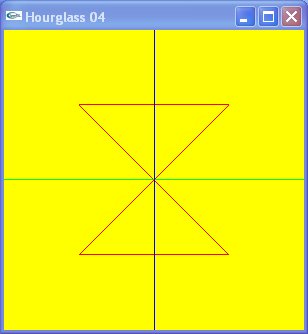
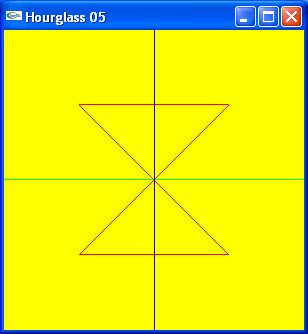
Version 5 - Turn it into an Array of Vertices
- Again, the same image as in version 4, but now:
- Have three arrays of
Point2:
hourglass - contains the vertices for the hourglass
xAxis, yAxis - contains the vertices for the x and y axes respectively
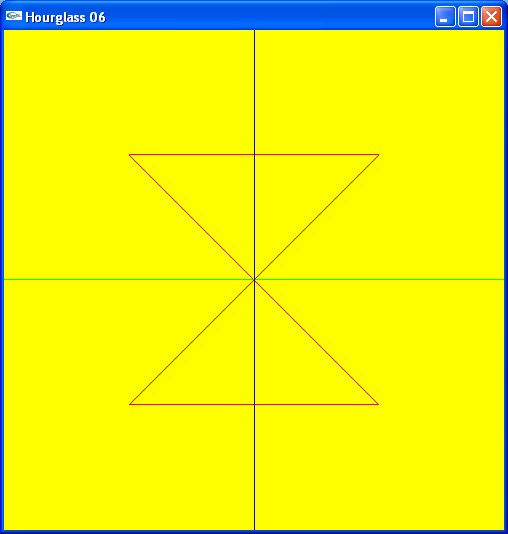
Version 6 - Specify Window Size and Position
Make the window 500 x 500 and position it at 100, 50
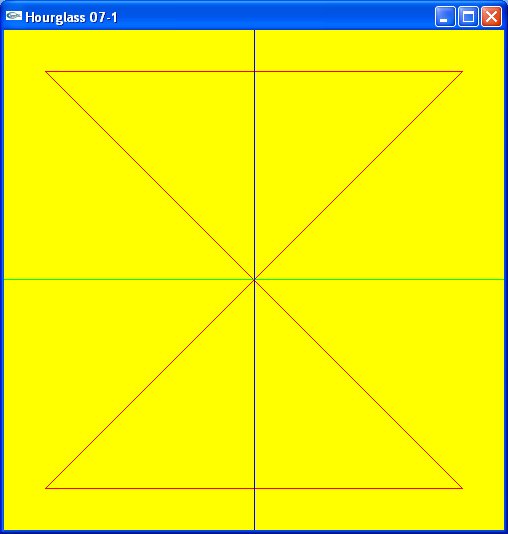
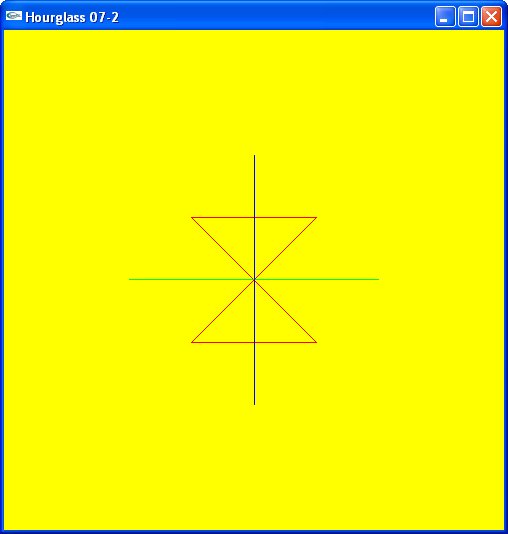
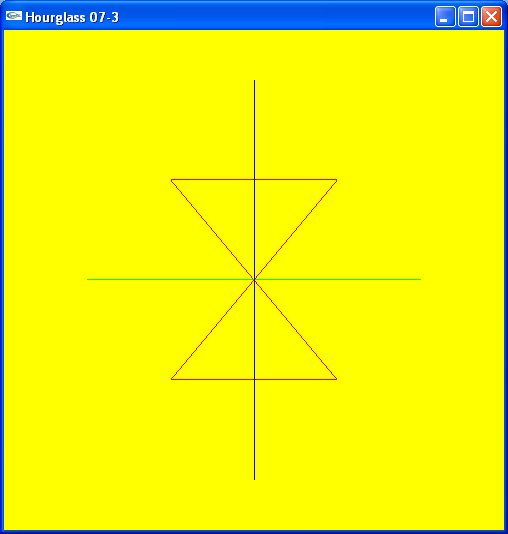
Version 7 - Change the Clipping Area
- Use
gluOrtho2D (not glOrtho) to modify the clipping area.
- The hourglass itself is 1 unit hight by 1 unit wide (since we're using vertices +/-0.5 in both the x and y directions)
- Remember, the default volumne is a 2x2x2 cube (only the x and y count now, though — why?)
create three images (in separate programs):
| Just larger than the hourglass
| Double the default in the x and y direction
| Double the size of the default clipping area
|
| 
| 
|
Version 8 - Triangles (Polygons)
- Use a single
GL_TRIANGLES glBegin/glEnd
section to create the hourglass as a pair of triangles
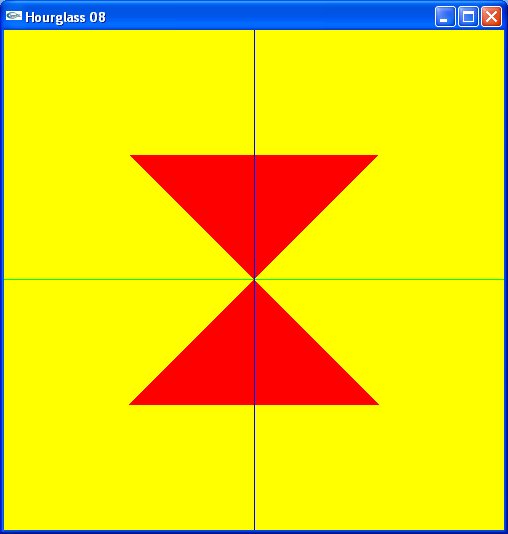
- Same image, but this time use
GL_POLYGON (you won't be able to do it in a single
glBegin/glEnd)
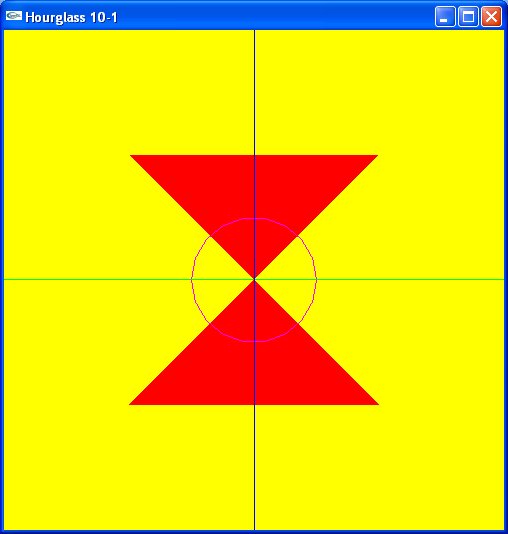
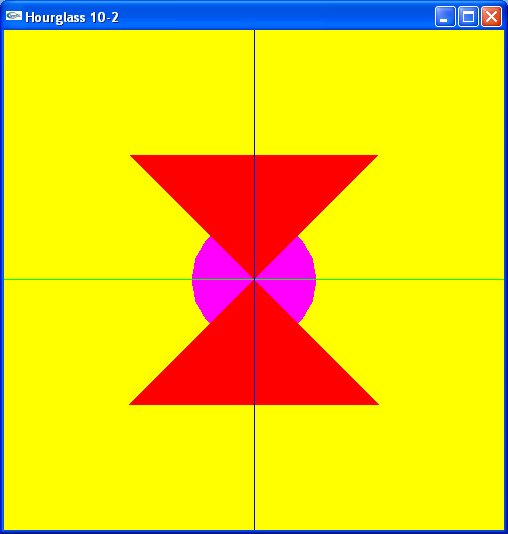
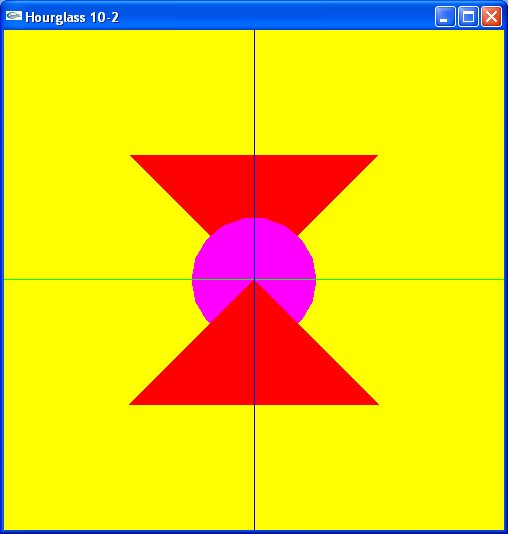
Version 10 - Rendering Order
- We're going to be drawing circles-- look at (and copy) the code in the
ParaCircle files--
you can find them in the Sphere subdirectory of the Chapter 2 files (at the bottom of
the Chapter 2 notes).
- No hidden line removal in 2D, but the order in which the shapes are specified does make a difference
(similarly in 3D, the last shape to modify a particular point in space is the one that persists).
- Here are the three views to reproduce:
| Outlined circle in front
| Filled circle behind
| Confused filled circle
|
| 
| 
|
- For the filled circle, you can either use a triangle fan (as in one of the ParaCircle examples), or
(probably more efficient), use a polygon (same basic code, different
glBegin parameter).
Version 11 - Parameterizing the Image
- No change to the image-- just introduce a (float) variable
base that is the width of the
base (and top) of the hourglass.

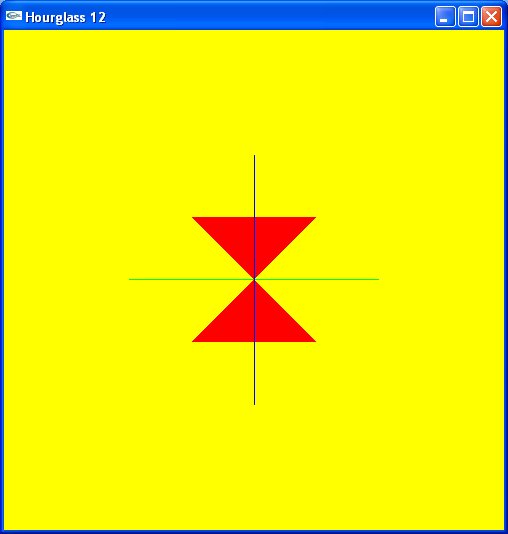
Version 12 - Handling Window Resizing by Adjusting the Clipping Area/Rectangle
- Add a resizing callback function
- Use
gluOrtho2D (rather than glOrtho since you're in 2 dimensions.
- Don't forget, you still need to specify a viewport
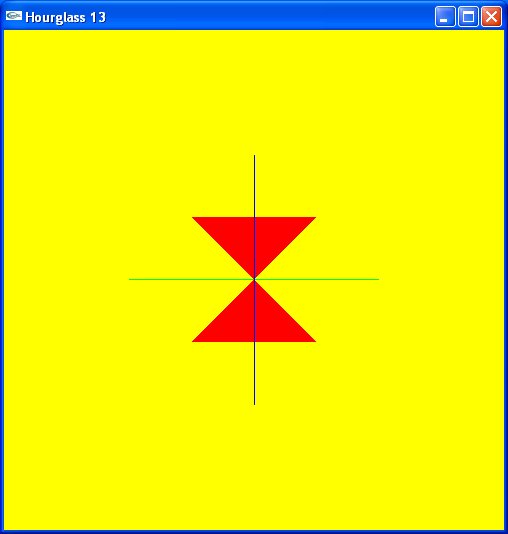
Version 13 - Handling Window Resizing by Adjusting the Viewport
- Add a resizing callback function
- Use
gluOrtho2D (rather than glOrtho since you're in 2 dimensions.
Version 14 - Do Something Original
- No picture-- that's why they call it original! :)
What and How to Submit
- Please do NOT submit anything until you have finished the entire assignment.
- The files:
- There should be a single parent directory named
Assignment02
- Each part of the assignment should reside in its own directory,
Part** beneath a single directory
where ** is 01, 02, 03, .., 07, etc
- zip or otherwise compress all files into a single compressed file, maintaining path information
- email me the resulting compressed file, using the subject
*** CIS 3620 *** Assignment 02 SUBMISSION.
Please do not use a different subject heading
- If you need help, email me with the subject heading
*** CIS 3620 *** Assignment 02 HELP.
- When submitting all asking for help, please make sure you attach ALL files necessary to build and run
your submission.