Home
Lesson
1 Lesson
2 Lesson
3 Lesson
4 Lesson
5 Lesson
6
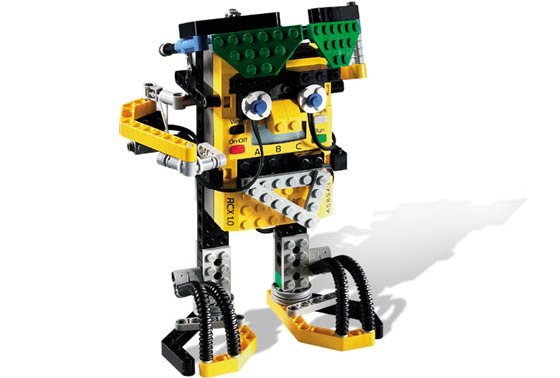
Basic Programming
Topics
RoboLab
Basic programming fundamentals
How to control motors
Handouts:
Icon Sheet from Pilot Level
Icon Sheets from Inventor Level
New Icons
 |
 |
| Begin |
End |
Motors
 |
 |
 |
 |
 |
 |
| A forward |
A reverse |
B forward |
B reverse |
C forward |
C reverse |
Stops
Time
Lesson
Write a short program on the board and have them copy it into their notebooks
and guess what it does.
Here is a sample program you could use:

This program has the robot turn on motor A, in the forward direction, for 2
seconds and then stop motor A. Since the tankbot has 2 motors (A and C) this
program would cause the robot to turn to the left for 2 seconds. I have
discovered it to be helpful to use the analogy of a wheel chair when explaining
motors.
After explaining the program on the board have the students try and modify it to
make the robot go forward instead of turning. Have them do this on their own
papers then go over it in class as a group. (Note: students will often try and
place a "C" next to the "A" in the motor and the stop sign,
this is ok just explain that RoboLab has a slightly different approach)
Here is a sample solution:

This program has the robot turn on both motors (A and C) in the forward
direction for 2 seconds and then stop both motors.
Next show the students RoboLab. Begin by programming in the last program from
the board. Explain each menu and icon as it is used. Also explain the I/O tower
and how to use it properly.
Separate the students into their groups and tell them to create a program that
will make the robot go forward, backward, turn at least 360 degrees and stop.
Sample solution:

This program causes the robot to go forward for 2 seconds, reverse the direction
of it.s motors, go backward for 2 seconds and then turn left for 6 seconds.
Lesson
1 Lesson
2 Lesson
3 Lesson
4 Lesson
5 Lesson
6

Home